As an Amazon Associate, Home & Garden Storage earns from qualifying purchases. Learn More


As an Amazon Associate, Home & Garden Storage earns from qualifying purchases. Learn More
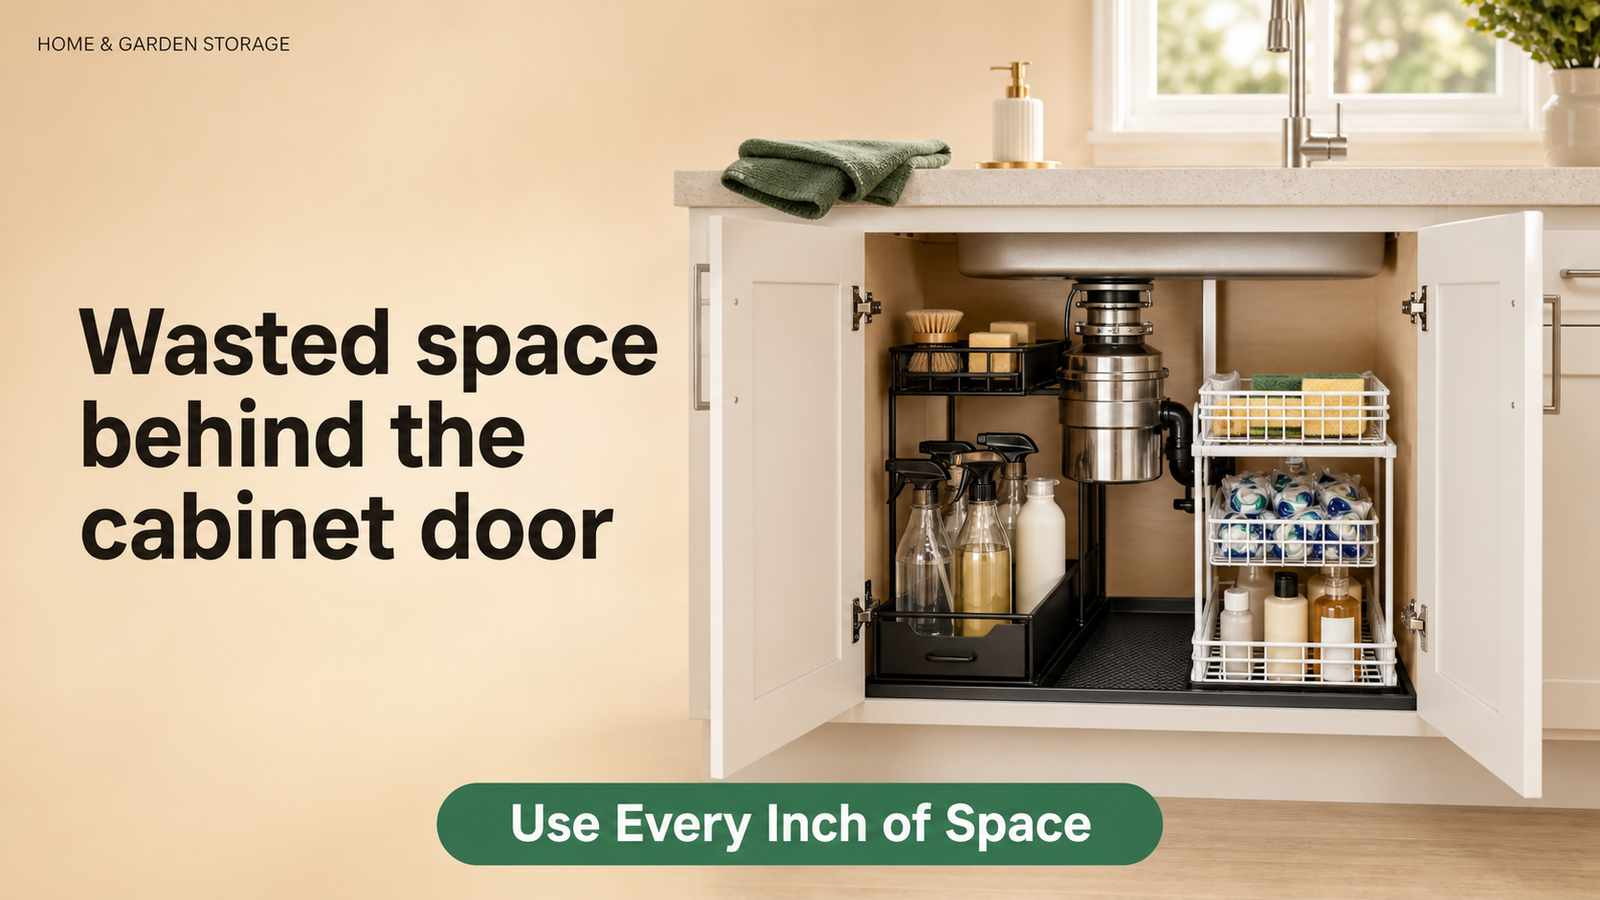
Learning how to organize under kitchen sink cabinets feels hard because pipes and garbage disposal take up half the space. This guide walks you through a simple 5-step method that takes about 15 minutes.
Open that cabinet right now. If you see tipped-over spray bottles, a soggy sponge, and a wall of plumbing, you are not alone. This is one of the most common problems in small kitchens and rentals.
You don't need a custom pull-out system or big renovation. You need a simple plan and a few organizers that fit around your pipes. Want to compare more options first? See our 10 best under-sink organizers for small kitchens guide.
At Home & Garden Storage, we don't make up hands-on testing stories. This guide is built from published product specifications, patterns in verified Amazon buyer reviews, and standard US cabinet sizes. Every product is linked to its Amazon page so you can check the latest details yourself. Learn more about our process →
Set a 15-minute timer on your phone. Read Steps 1 and 2 first, then start the timer at Step 3.
You can't organize clutters you don't need. Start by emptying everything onto the kitchen floor until the cabinet is bare. Then sort everything into three piles:
Finally, wipe the cabinet floor with all-purpose spray and a microfiber cloth to lift soap residue and water spots.
If you see dark rings, soft spots, or peeling laminate, you may have a slow leak. Fix the leak first. The U.S. Environmental Protection Agency says the key to mold control is moisture control (EPA mold and moisture guide), so a waterproof mat with a raised edge is a smart way to protect the cabinet floor.
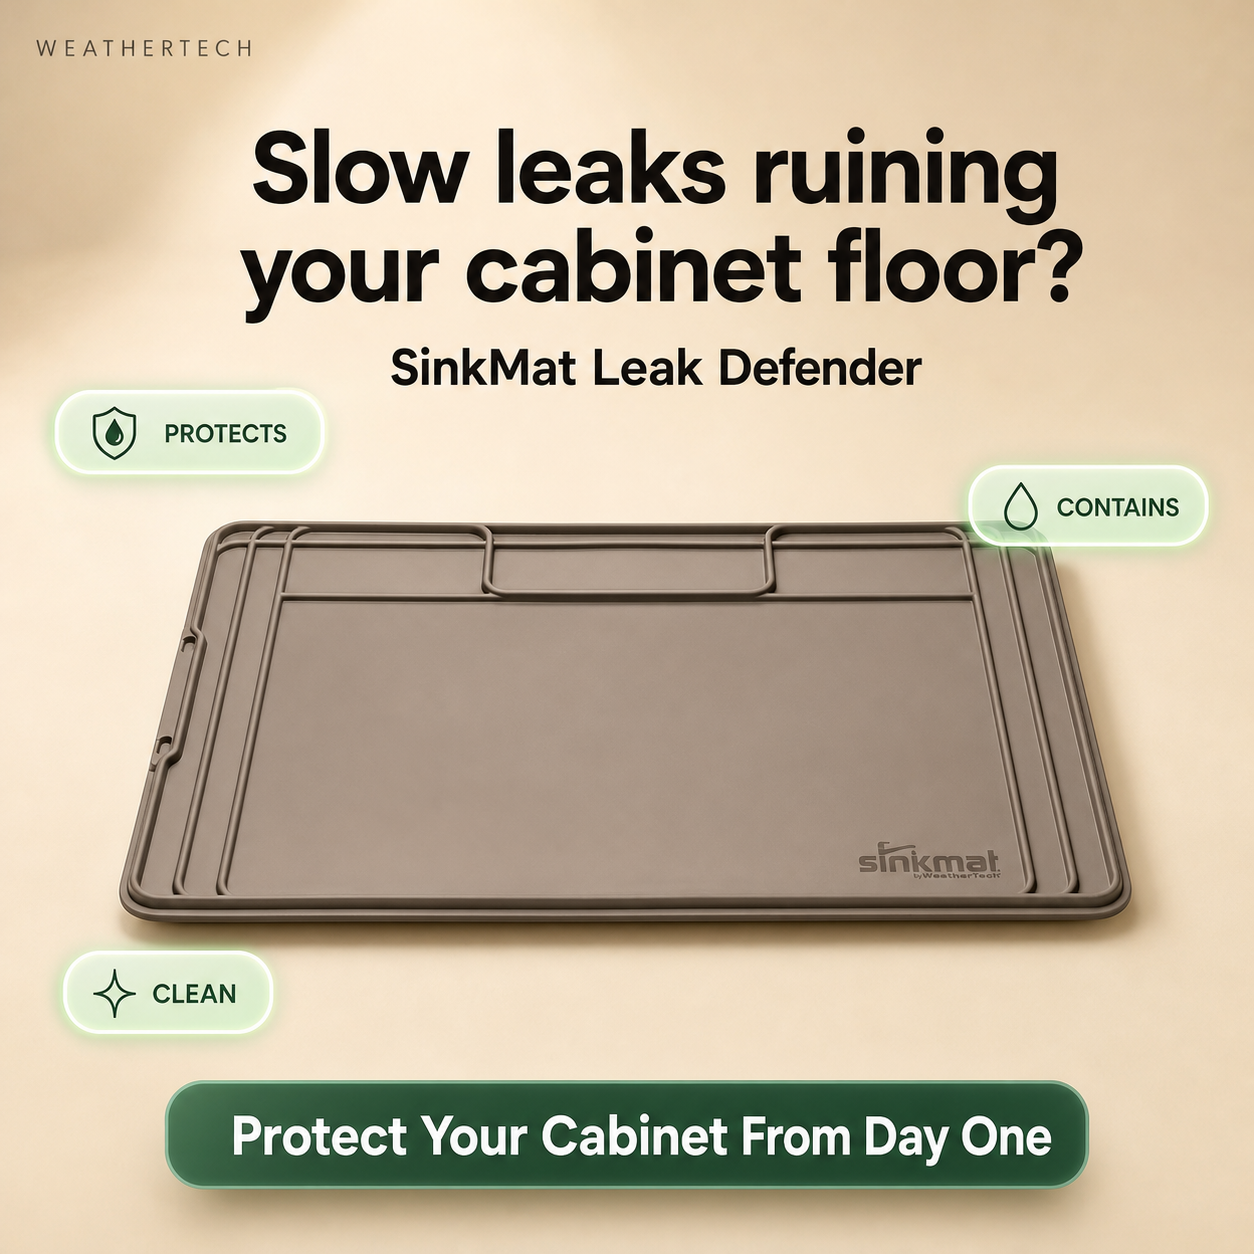
Catching drips and spills before they reach the woodThis is a flexible mat with a raised edge that sits on the cabinet floor. You can trim it to fit around your pipes, and it wipes clean in seconds.
Measure the cabinet floor first. The listing size is about 34 by 22 inches, so confirm it fits before you trim.
The most common mistake is buying an organizer that crashes into a pipe or the disposal. Two minutes with a tape measure prevents that.

Rule of thumb: if there is less than about 12 inches of height under the disposal or the lowest pipe, skip tall 2-tier racks. Choose an L-shaped organizer or an expandable rack with removable panels instead (both are in Step 4).
Sorting by category (all sprays together) sounds neat but often fails within weeks. The better method for how to organize under kitchen sink cabinets is to sort by how often you reach for each item.
Use your Step 2 measurements to choose. Every pick below is freestanding or stick-on, so there is no drilling. For more specs and options, see our Full Under-Sink Organizer guide.

An L-shaped organizer has a narrow top shelf that clears the disposal and a wide bottom drawer for your supplies. This pick uses a suction base instead of screws, and its listing shows a high load rating.
Check before you buy: The inside height of the bottom drawer against your tallest bottle, and whether the narrow shelf can go on the left or right to match your pipes. Suction holds best on a clean, smooth cabinet floor.
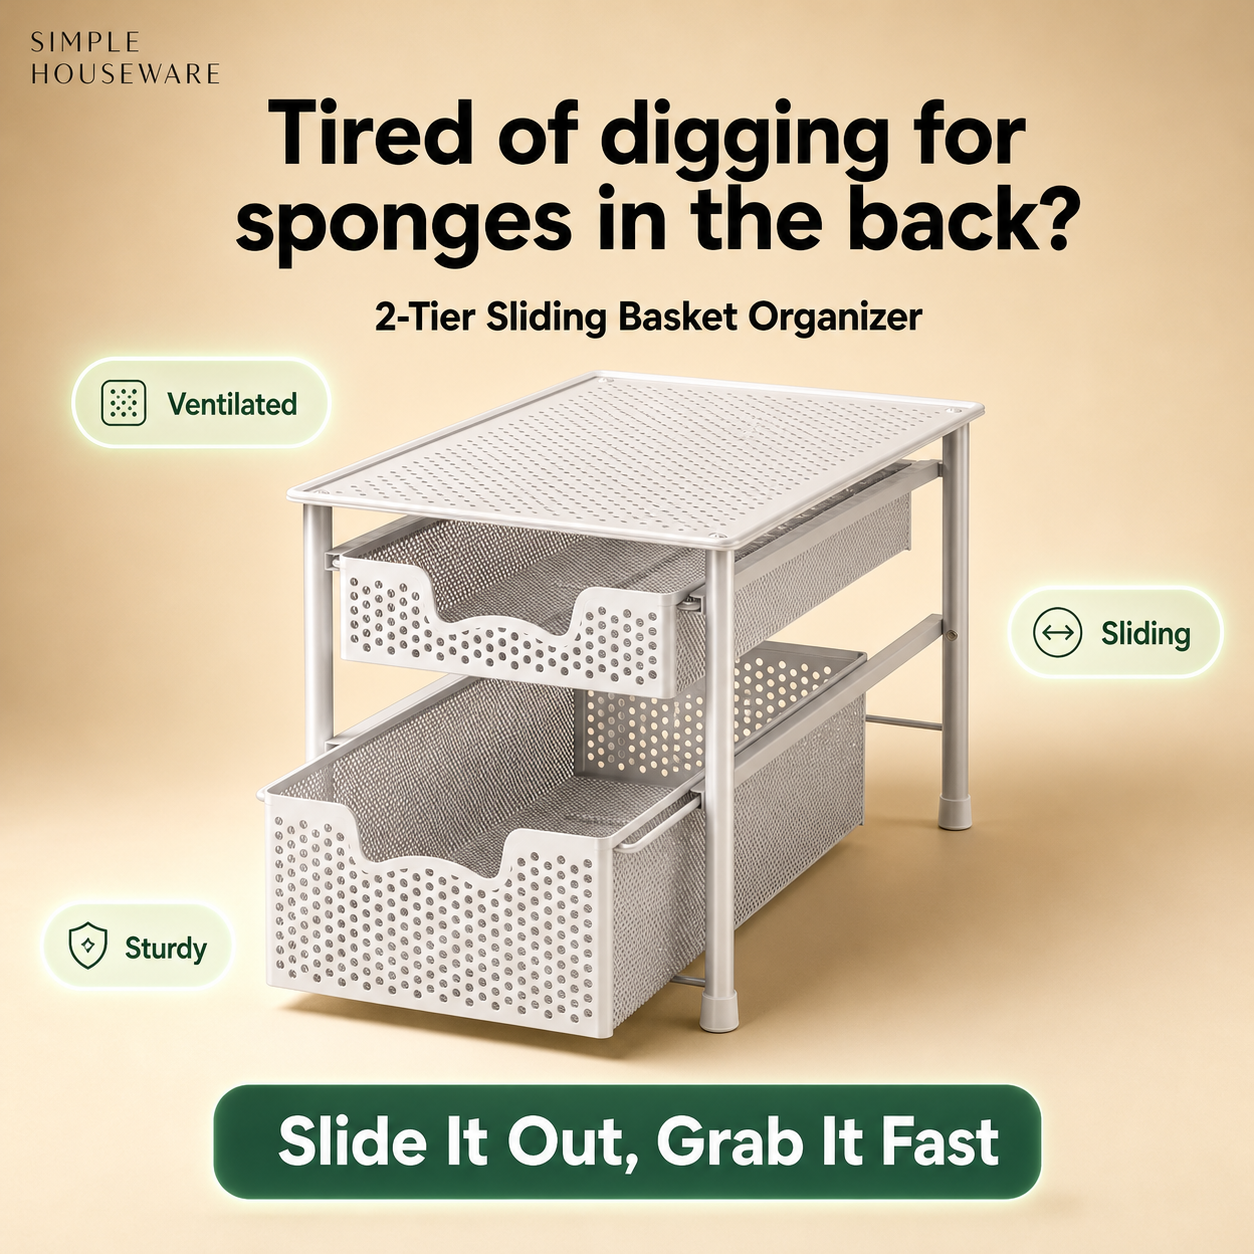
A sliding wire basket on each level lets you pull small items forward instead of reaching into the back. It is freestanding, needs no tools, and goes together in a few minutes.
Check before you buy: the baskets are shallow (about 2 to 4 inches high) and about 8 inches wide. Use them for sponges, dishwasher pods, and short bottles, not tall spray bottles.

A sliding wire basket on each level lets you pull small items forward instead of reaching into the back. It is freestanding, needs no tools, and goes together in a few minutes.
Check before you buy: the baskets are shallow (about 2 to 4 inches high) and about 8 inches wide. Use them for sponges, dishwasher pods, and short bottles, not tall spray bottles.
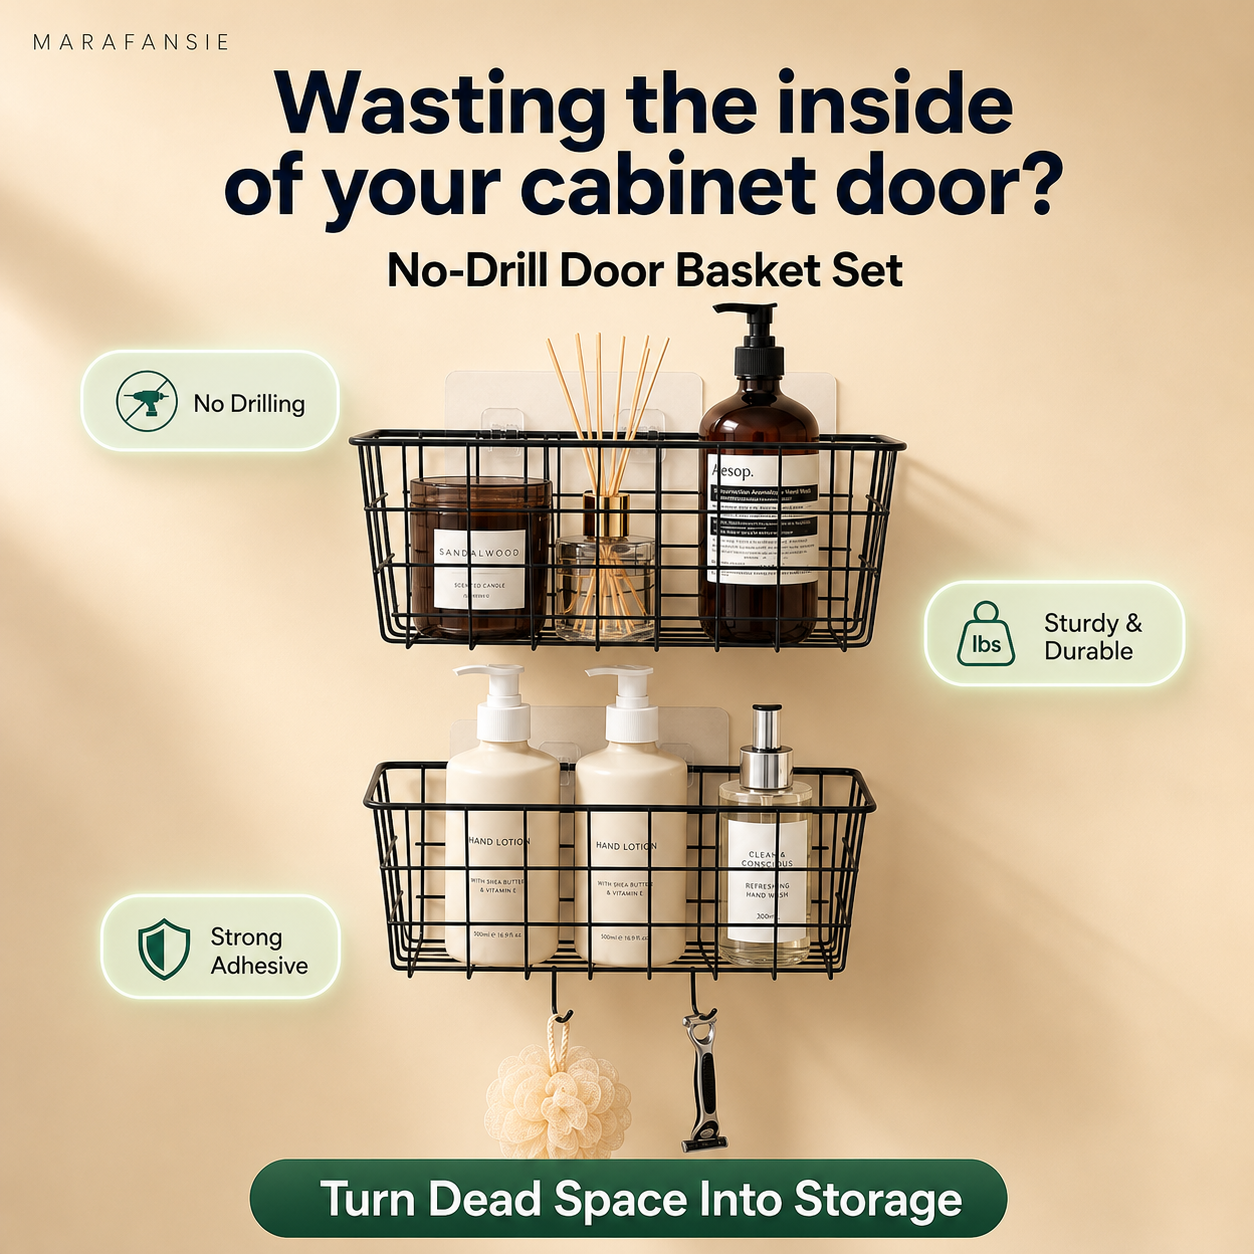
Don't waste the inside of the cabinet door. These small wire baskets stick on with adhesive strips, so there is no drilling, and they keep daily tools within easy reach.
Check before you buy:
Each basket is only about 11 inches long, so it will not hold cutting boards. Stick it to a clean, dry door and keep the load light, because damp cabinets can weaken the adhesive over time.
Now load your organizers using this simple logic:
• First, put daily items in front. Dish soap, surface spray, and sponges go where you can grab them without bending.
• Next, use the sliding baskets for small, short items such as pods, sponges, and scrub brushes.
• Then, stand tall bottles on the cabinet floor or in the tallest space your organizer has, with labels facing out.
• Finally, put rarely used items in the far corner, and keep sponges, brushes, and gloves in the door basket.
Timer should beep about now. Step back and look: you just organized the most annoying cabinet in your kitchen.
Save this to your phone or print it for your next kitchen reset day:
☐ Minutes 0-3: Empty the cabinet, sort into Keep / Relocate / Toss, wipe the floor.
☐ Minutes 3-5: Measure door opening, pipe drop height, and depth.
☐ Minutes 5-8: Group the Keep pile into Daily / Weekly / Dead-space zones.
☐ Minutes 8-13: Install your organizers (L-shaped or 2-tier rack, plus the door basket).
☐ Minutes 13-15: Restock by zone, daily items in front, tall bottles at the back.
Now you know how to organize under-sink cabinets without a weekend project or a custom cabinet. Empty it, map the pipes, group by use, add the right organizers, and restock. That's about 15 focused minutes.
👉 Next step: compare more picks in our 10 Best Under-Sink Organizers for Small Kitchens.